
The Meeting Scheduler lets people book time with you from a link, and Ping adds the meeting to your calendar automatically. Setting it up takes three steps: connect your calendar, choose your booking URL, and create your first meeting link.
Open the Scheduler
Select Scheduler in the left sidebar. If you have not set it up yet, you see the Set up scheduler checklist.
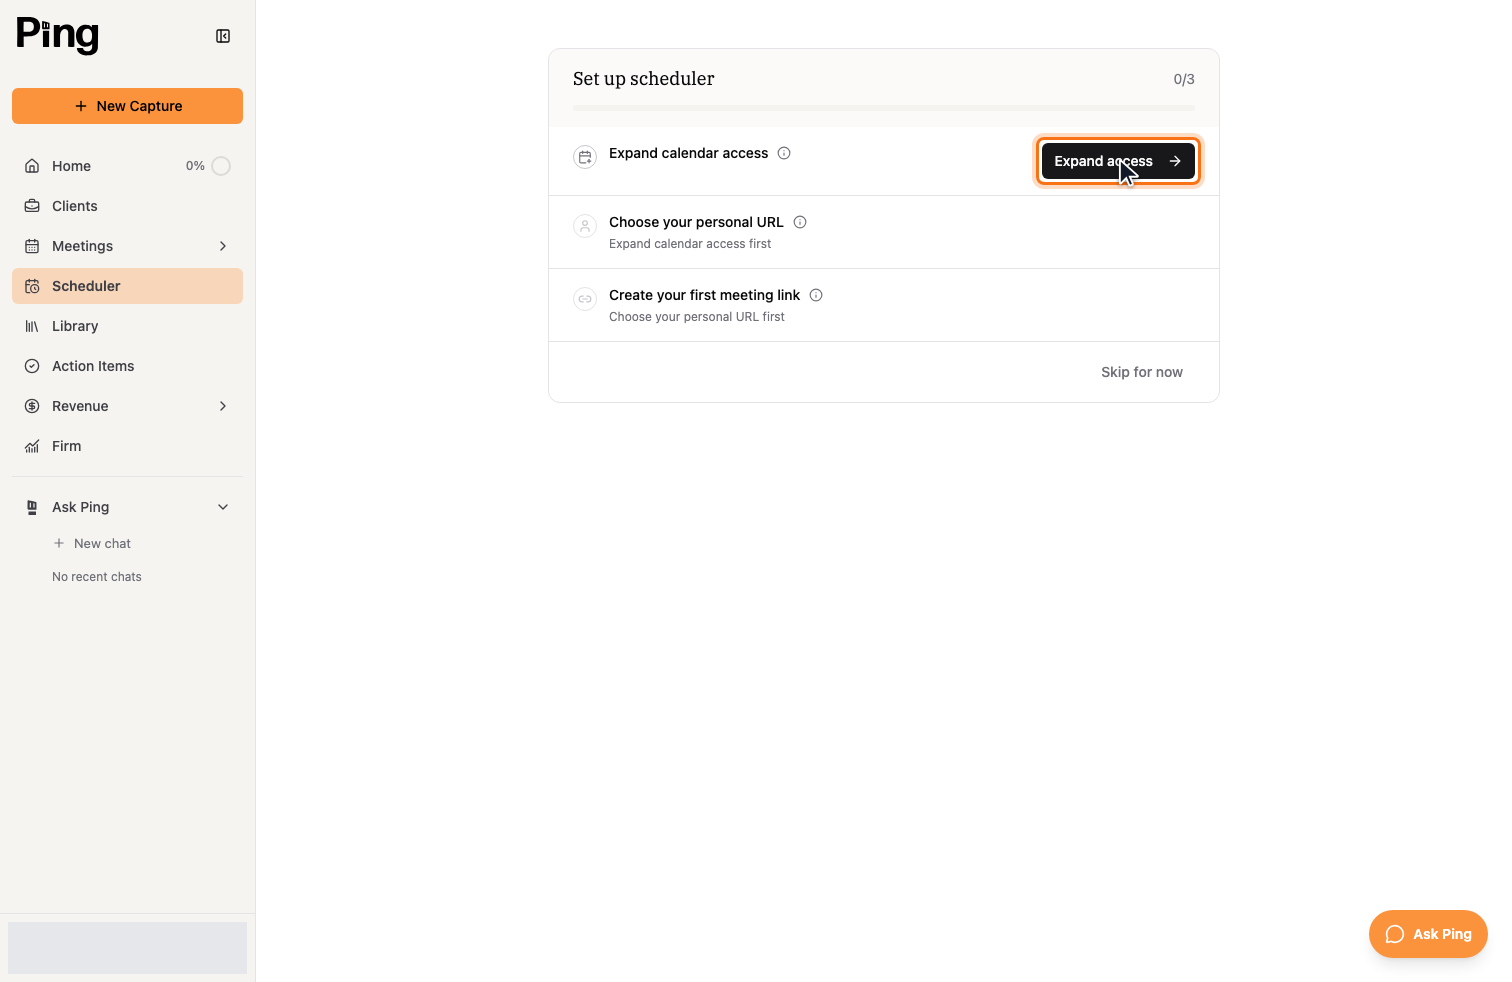
Work through the three steps in order. Each one unlocks the next.
Step 1: Connect your calendar
Open the Settings tab. Under Calendar, select Connect next to Google Calendar or Outlook Calendar. This lets the Scheduler check your availability and add bookings to your calendar.
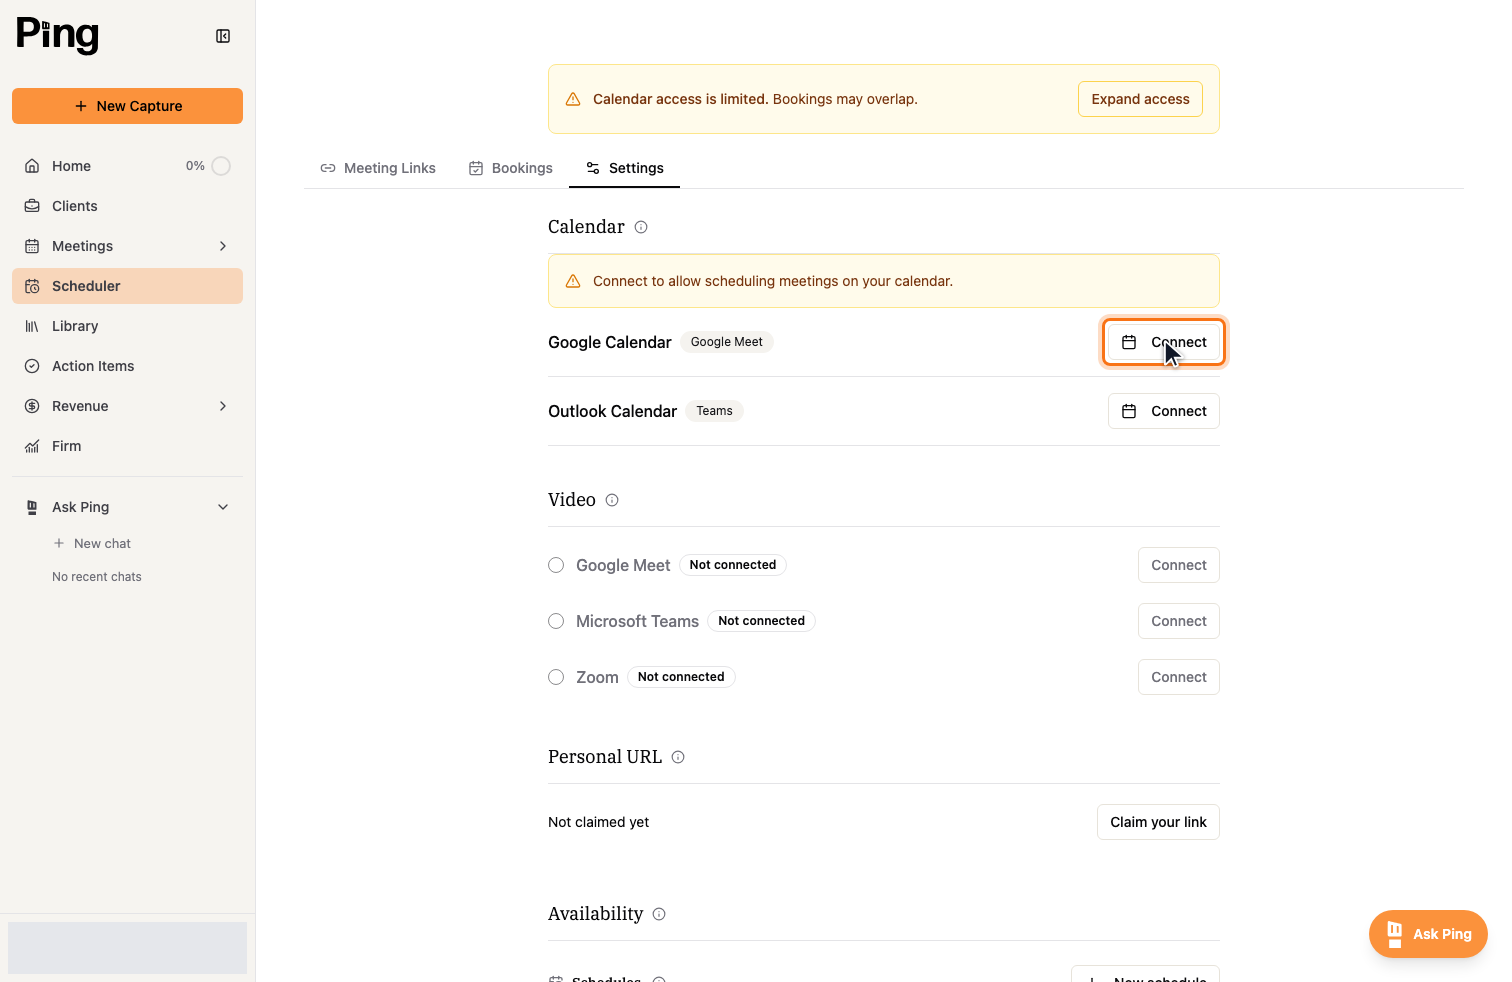
Connecting Google Calendar also enables Google Meet for your meetings, and connecting Outlook enables Microsoft Teams. You can connect Zoom separately under Video.
Step 2: Choose your personal URL
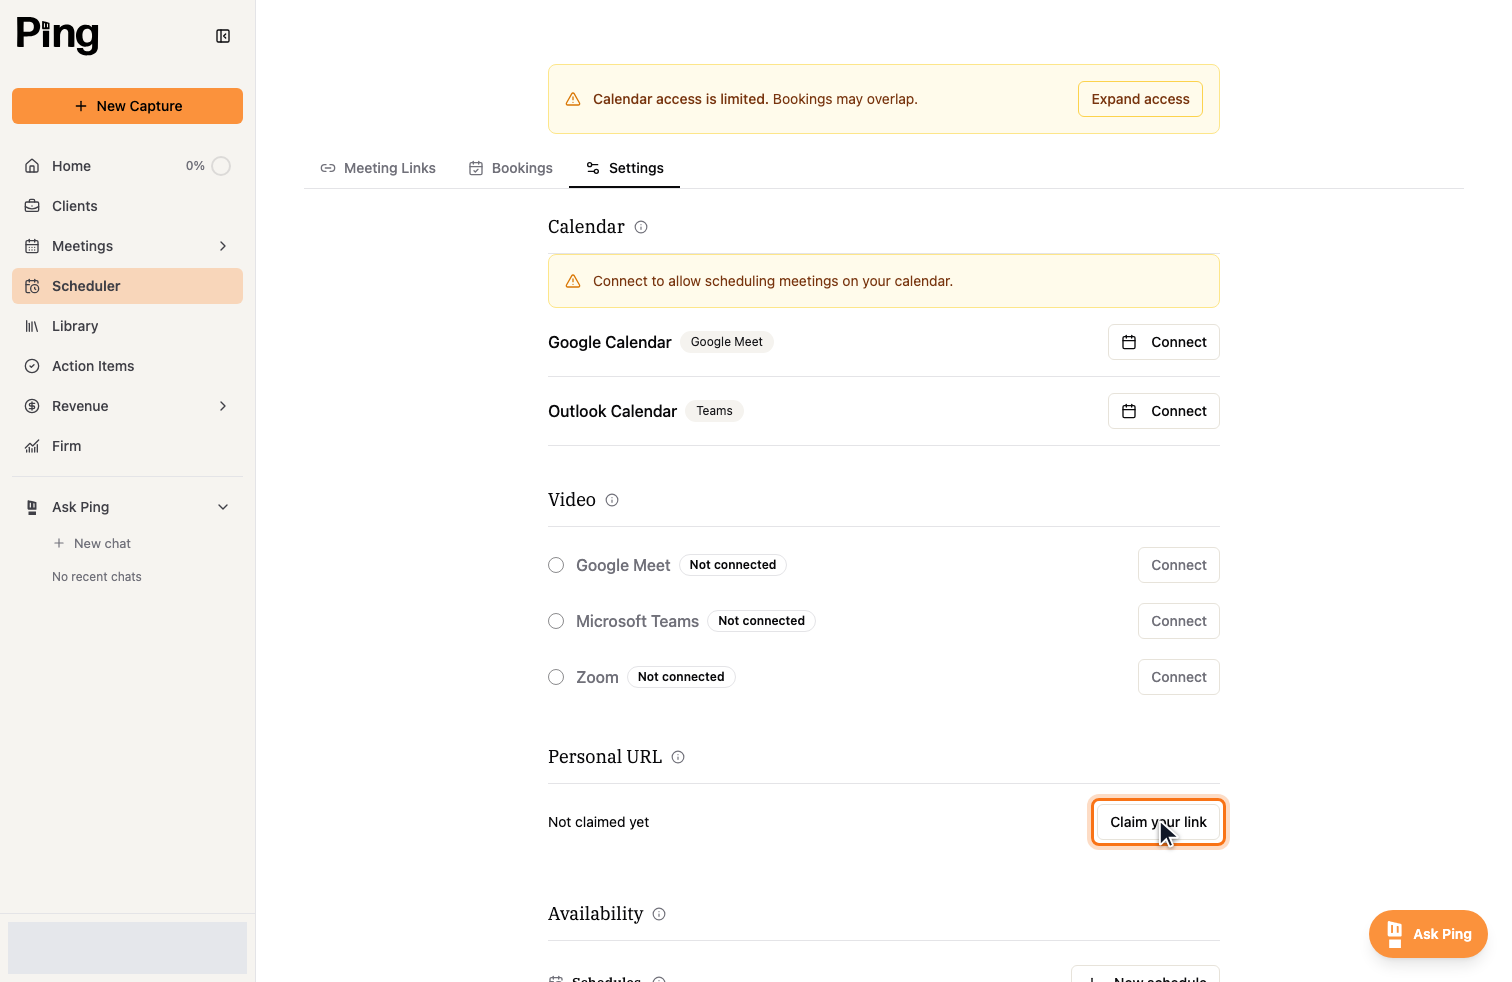
Under Personal URL, select Claim your link. This is the booking address people use to book time with you, for example /book/your-firm/your-name.
Step 3: Create your first meeting link
Once your URL is claimed, create a meeting link with a title, a length, and where the meeting happens. See Create and manage meeting links for the details.
Related articles
- Create and manage meeting links
- Set your availability
- Customize your booking form and notifications