
Your availability decides when people can book time with you. The Scheduler comes with a default schedule of weekday working hours, which you can change, and you can add more schedules for different kinds of meetings.
Open your availability
Open the Scheduler, select the Settings tab, and scroll to Availability.
Set your weekly hours
Under Weekly hours, turn on the days you are available and set a start and end time for each. Turn a day off to make it unavailable.
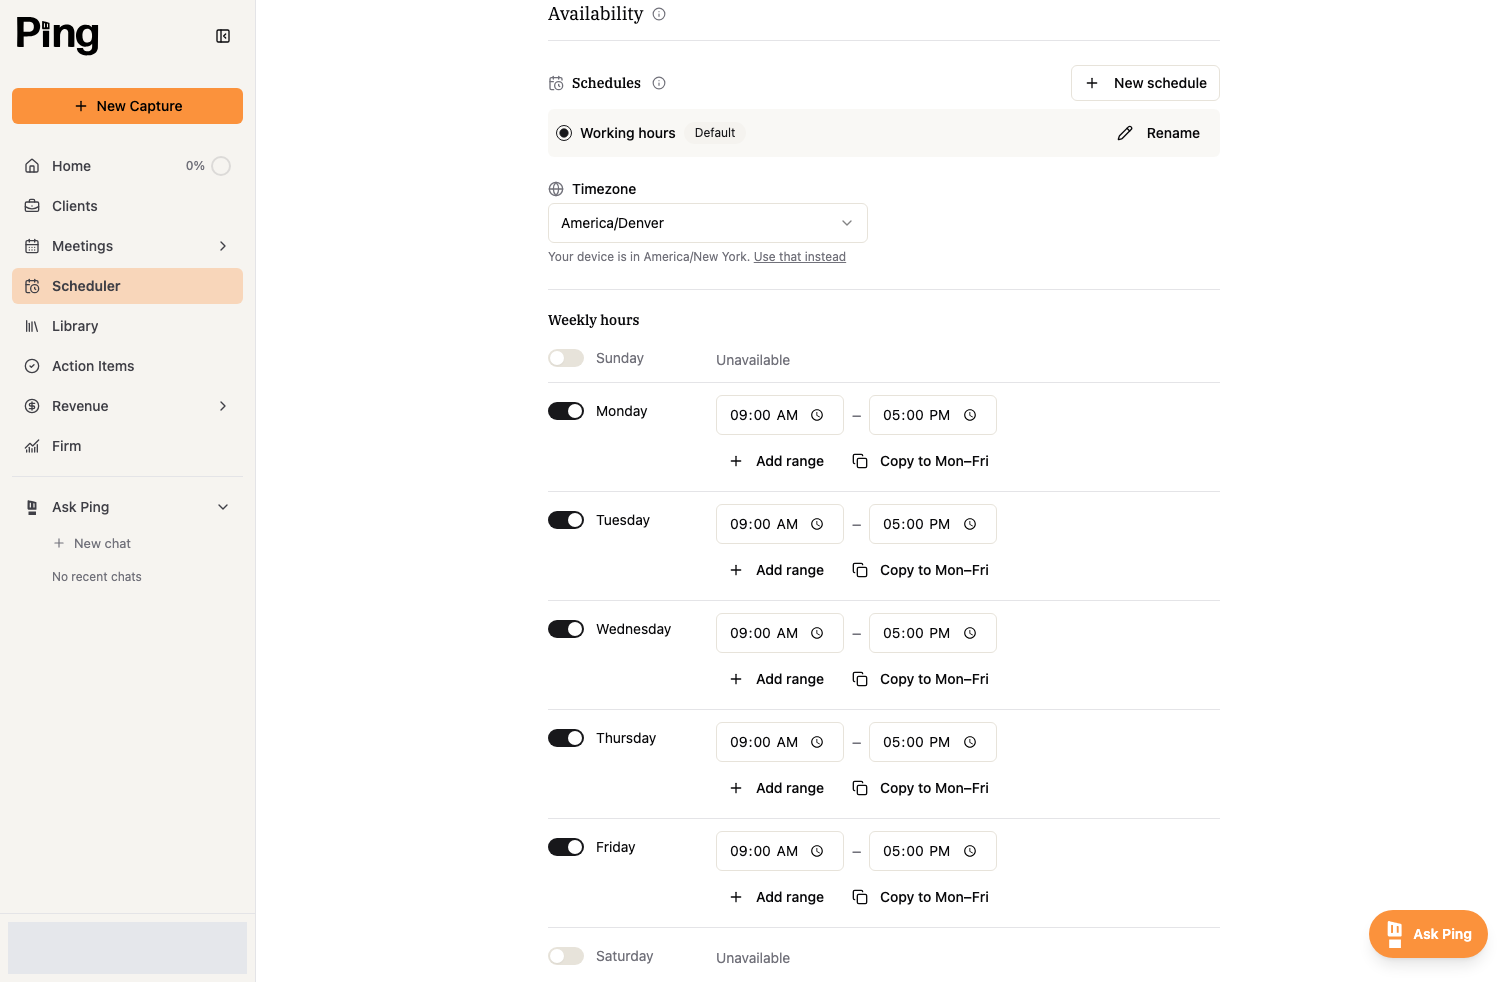
- Select Add range to offer more than one block of time in a day, for example mornings and afternoons with a break in between.
- Select Copy to Mon-Fri to apply one day's hours to the whole work week.
- Set your Timezone so booking times show correctly.
Use more than one schedule
Select New schedule to create a separate set of hours, for example a shorter schedule for intro calls. Each meeting link can use a different schedule. Select Rename to name a schedule, and keep one marked as the Default.
Block off specific days
Use Date overrides for one-off changes without touching your weekly hours. Select Add date to set different hours for a single day, or to mark a day unavailable, such as a holiday.
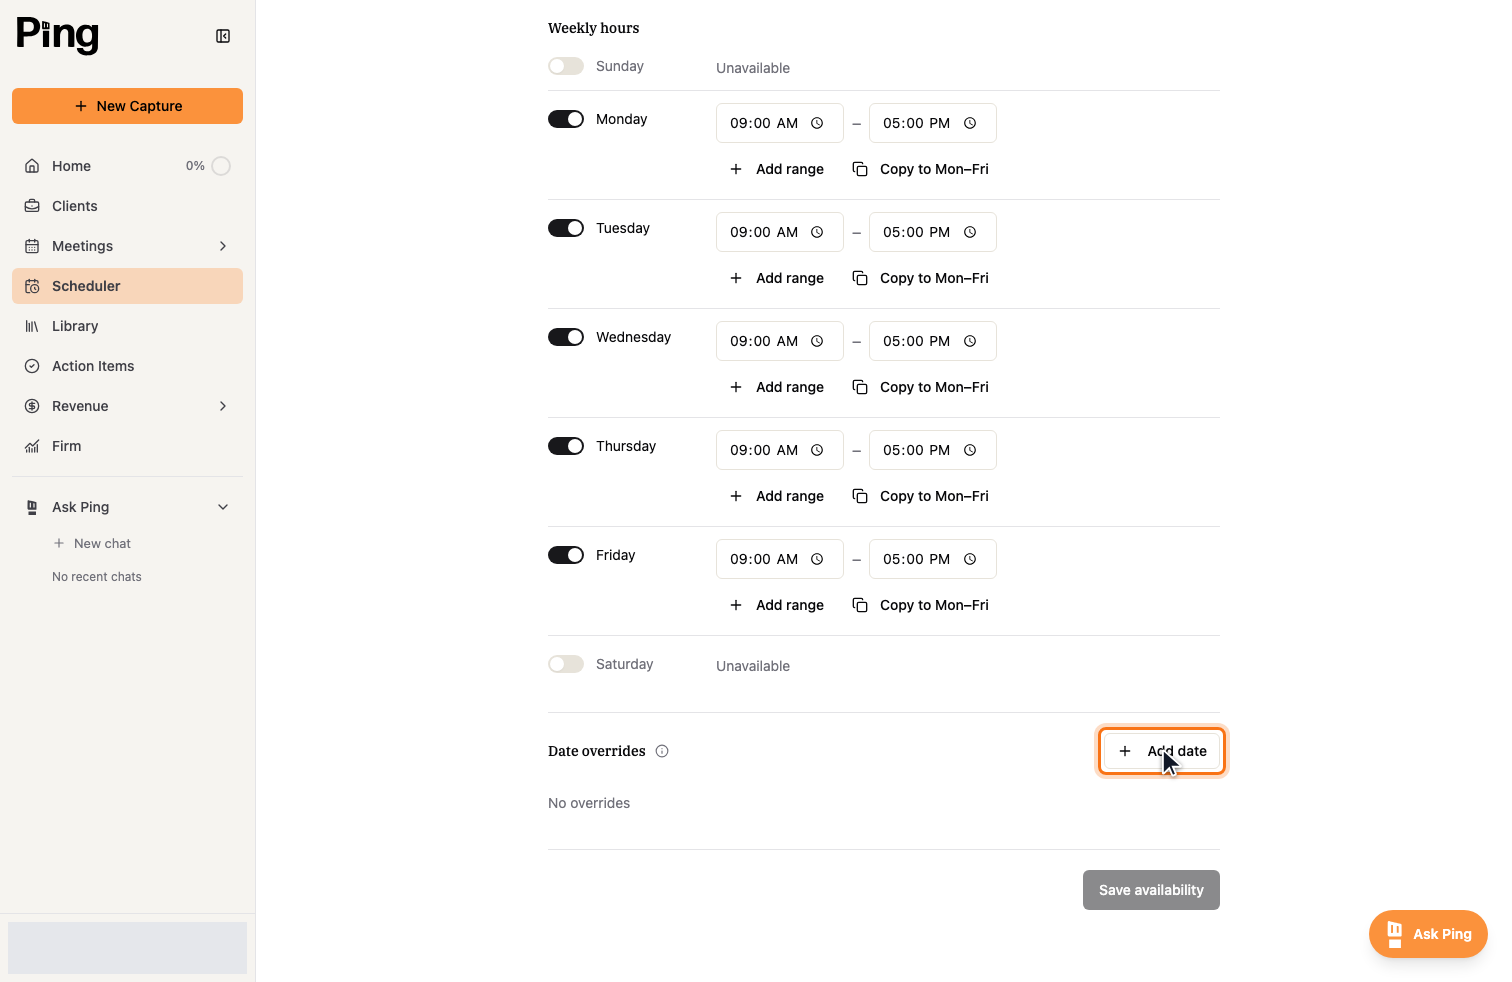
Select Save availability when you are done.
Related articles
- Get Started with the Meeting Scheduler
- Create and manage meeting links